Table of Contents
Air Brakes: Technical/Components/Caging
Air Chamber, Front
Function
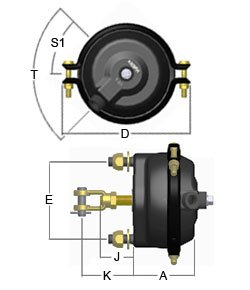
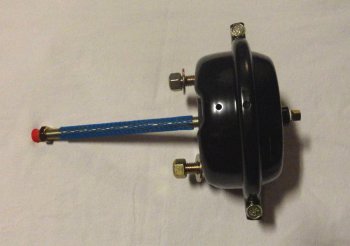
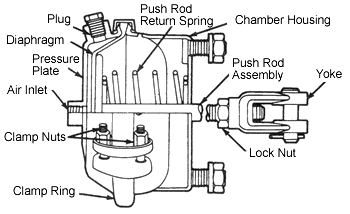
The air brake chambers are what convert the air pressure into mechanical push rod motion which engage the brake shoes. Anytime that you work with air brake chambers you had better show some respect. These push rods can generate thousands of pounds of force. If one of your body parts gets in the way, you loose!
All brake chambers have sizing information. The larger the chamber size, the more force the chamber can generate. Chamber sizing is an important factor in designing brake systems which will help to keep the rv in control during panic stops. Always make sure that replacement air chambers are the correct size for your coach, such as T20 or T30. Follow the manufacturer's specifications when replacing air chambers
Meritor Brake Maintenance Manual
Brake Pads Dragging
Mechanical Release (Caging)
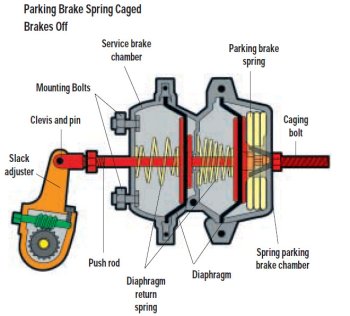
Some spring parking brakes can be released mechanically by “winding them off” or “caging” them. Caging means the brakes are being released.
This is achieved with a bolt that runs through the center of the chamber body, which is turned to compress the spring. It may be necessary to first remove a lock plate and stud to gain access to the head of the bolt. Other types have a dust cap that must first be removed and a bolt inserted. In some cases, a special wrench is required.
Instruction on how to “cage” is usually on the body of the parking brake chamber. If all air is lost and the vehicle has to be towed, the parking brakes can be released by caging them. Always block the wheels when caging the parking brake spring. A typical procedure is:
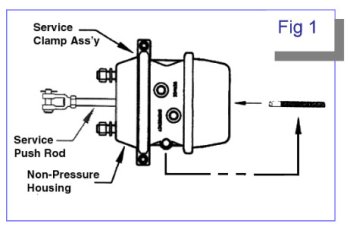
STEP 1 (Fig. 1)
- Remove dust cap from release tool keyhole in center of spring housing.
- Remove release tool assembly from side pocket of adapter base.
- Insert release tool through keyhole in chamber into the pressure plate
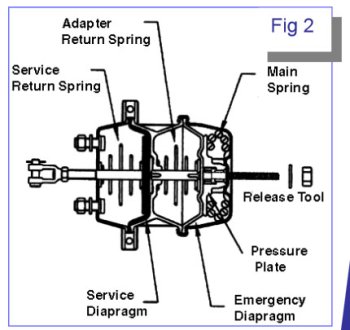
STEP 2 (Fig. 2)
- Turn release tool turn clockwise.
- Pull on the release tool to seat it in the pressure plate properly.
- Put on release washer and nut. Tighten nut until it is finger tight.
STEP 3 (The following steps only apply if the chamber is not pressurized.)
- To cage main spring, tighten release nut with hand wrench and make sure that the service push-rod is retracting.
- Do not over torque release tool assembly: 35 lb. Ft. max
Warning: Do not mechanically release (cage) the spring if there is any structural damage to the brake actuator. Caging the spring in such a chamber may cause serious injury or death.
Warning: Always work from the side of spring brake chamber. Never work from the front or back
Warning: Spring parking brake chambers should never be disassembled without first compressing the spring with a caging bolt. These springs are under extreme pressure and could cause serious personal injury if dis assembly is attempted by anyone not experienced in servicing these units. Dis assembly of a spring brake chamber should only be preformed by a qualified mechanic or technician.
