Replacing the Javalina Audit System with a SeeLevel 709.
The Seelevel 709 tank monitoring system installation was quite easy. The instructions are excellent and include some very useful hints. The only difficult part was removing shelves, etc. to gain access.
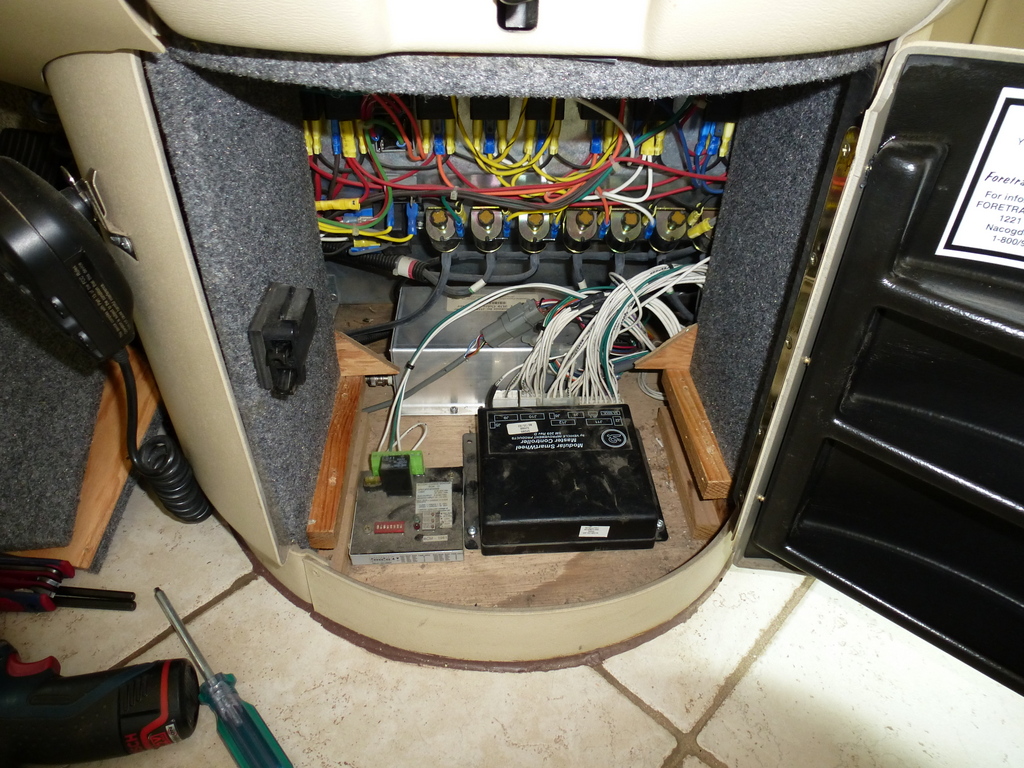
Taking things apart, installing the system and putting all things back together took most of a day. I did not have to run any wires from the dash to the tank bay - just used the existing wires from the Javalina fresh water sensor (the Seelevel system only needs a single data wire to connect all three sensors to the display plus a ground wire).
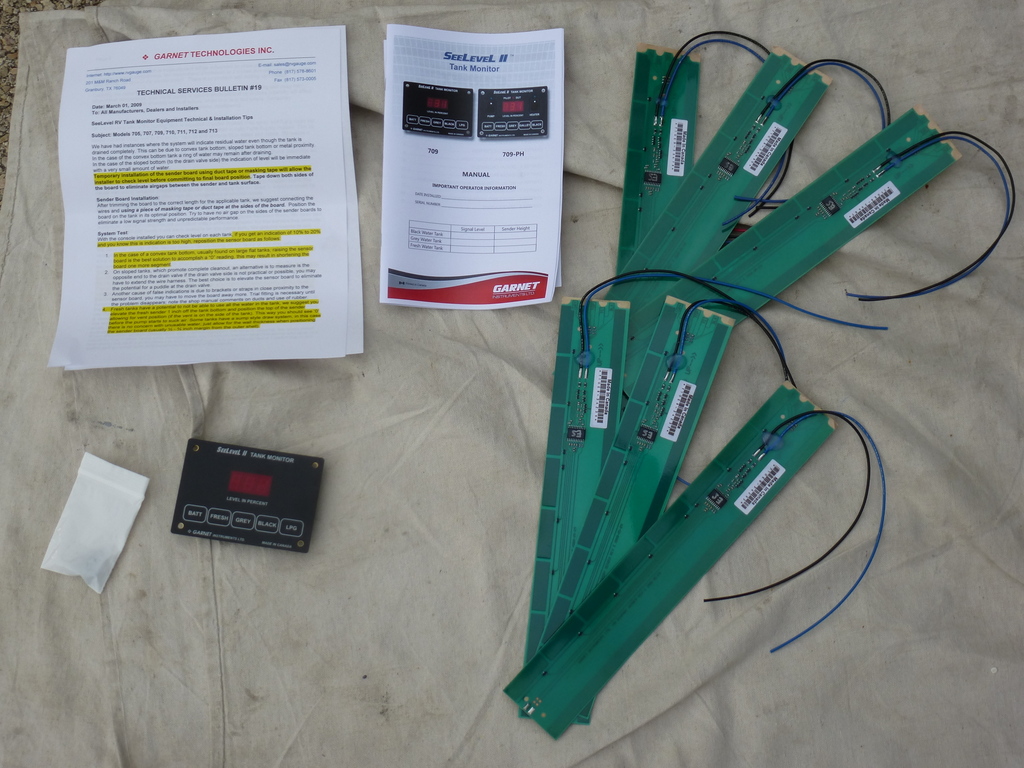
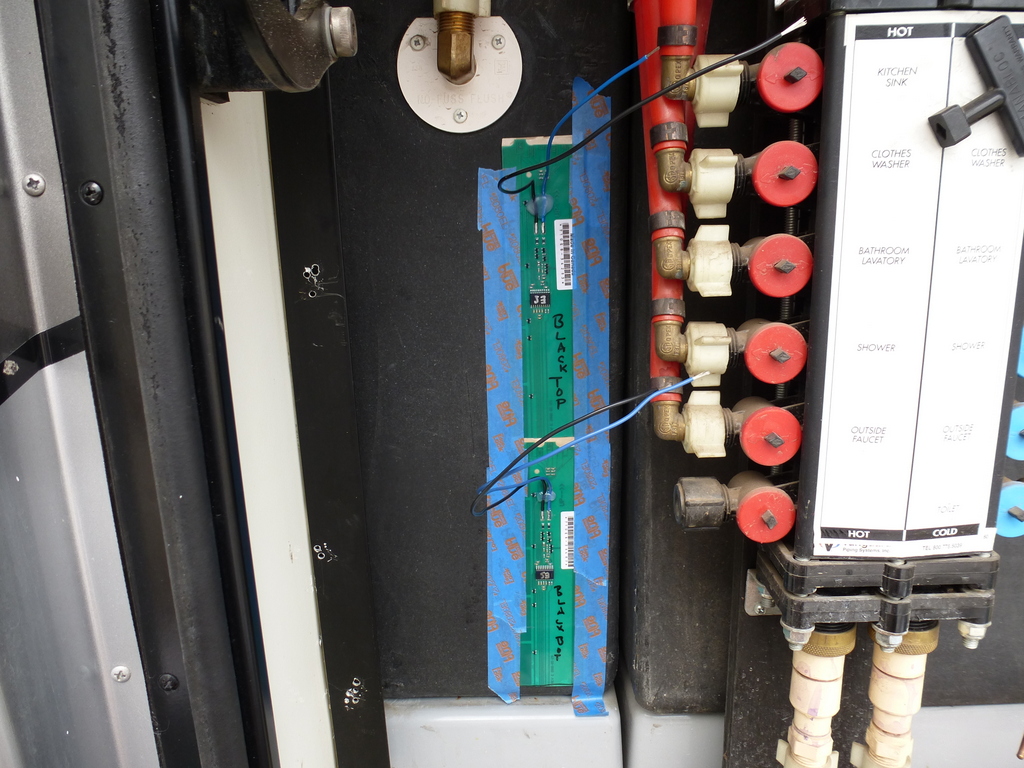
The Seelevel sensors are thin, flexible printed circuit boards about 2-inches wide by a foot long with a 3-M adhesive backing. For tanks taller than 12-inches, use two sensors - one above the other. The sensors can be cut to fit most any tank height. The only thing to be aware of is that you can only cut the sensors between the sensing pads - that is, at 1.5 inch intervals. Sensors are keyed to the respective tank by cutting off a tab on the sensor panel. Likewise, when using a pair of stacked sensors, you have to cut off a special tab to indicate which of the sensors is top and which is bottom. The installation instructions show detailed pictures of how the sensor tabs are cut for various types of installations - including how to fix a tab you cut off by mistake (you get one chance to fix any miscut you make).
Before you peel off the backing and permanently stick the sensors onto the tank, you SHOULD temporarily tape the sensor in place with masking tape and do a system check to ensure all gauges are functioning correctly. You should also clean the end of the tanks with alcohol, then hit them with some fine-grit sand paper, then clean them with alcohol again to ensure good adhesion.
Rather than using the adhesive on the back of the strips, some members have used Gorilla tape to mount the sensors, in case they needed to move them / replace them in the future.

Some fresh water tanks have an “L” profile, making the choice about where to install the sensor a little more time-consuming. You can try to get to the side or ignore the “L” and install the tape above it on the vertical section. If you choose to skip the “L” the gauge will read empty when you reach the top of the “L”.
The Seelevel system also displays the LP gas level. Just hook the existing LP sensor wire to the Seelevel display board. The LP sensor is the only one you have to calibrate - the holding tanks are self-calibrating. You calibrate the LP sensor by filling the LP tank and holding down two keys on the display for a few seconds.
If you are at all handy, adding the Seelevel system is an easy DIY project.