Replacing Shower Skylight

Inside our shower, the top white flat piece of plastic cracked and the outside smoked dome was damaged, so they both needed to be replaced.
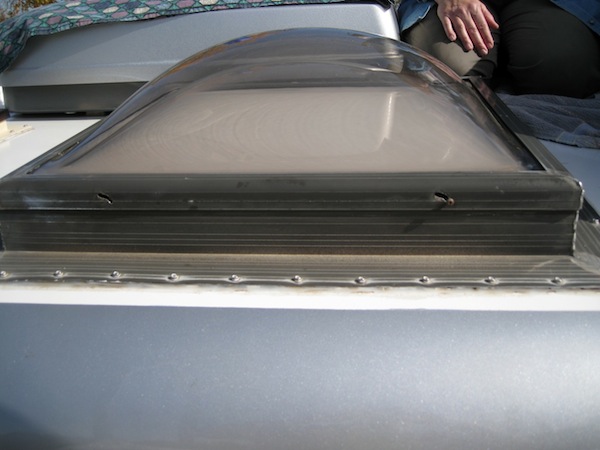
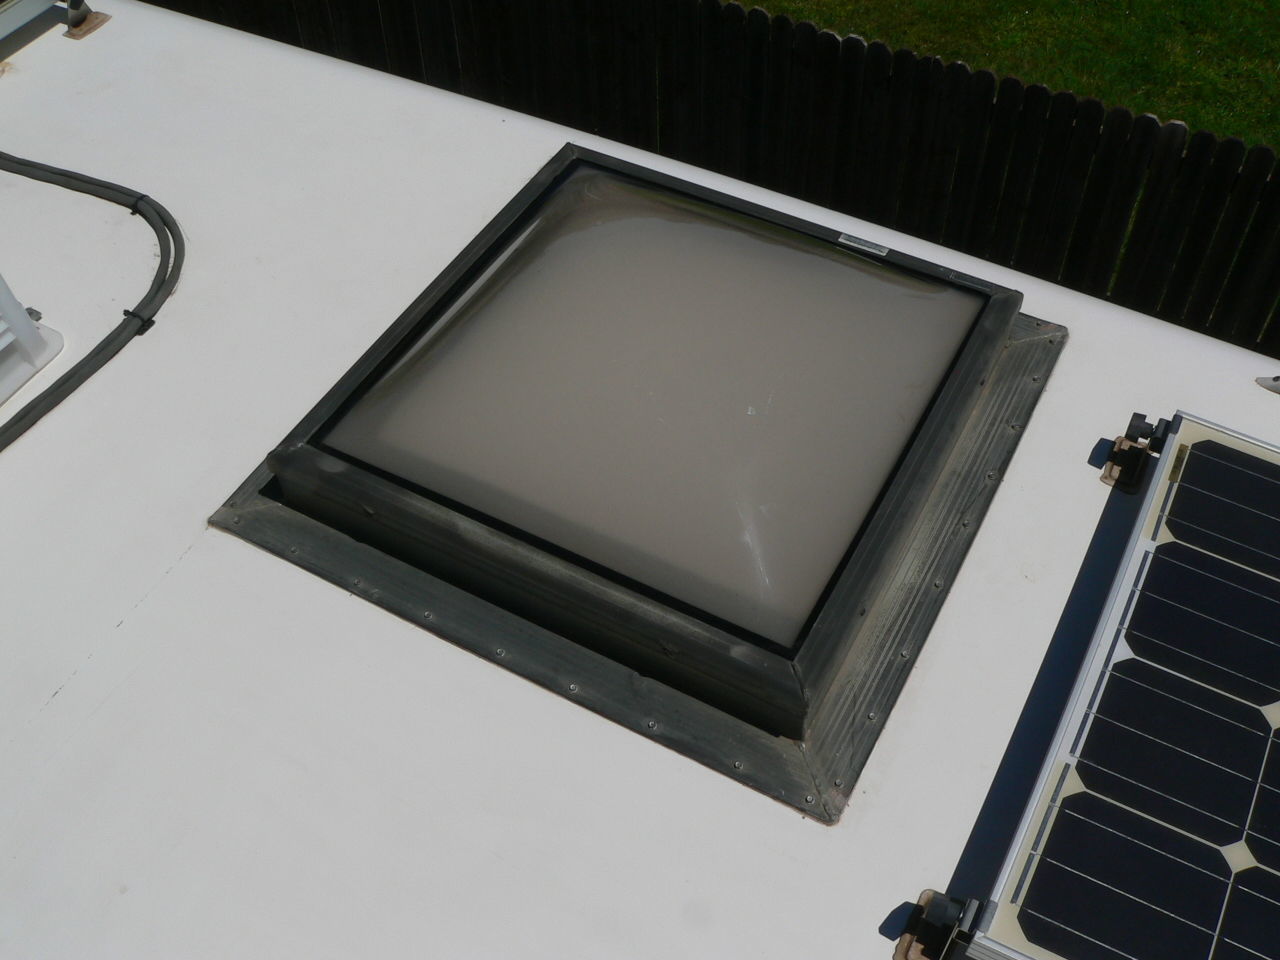
Original Skylight
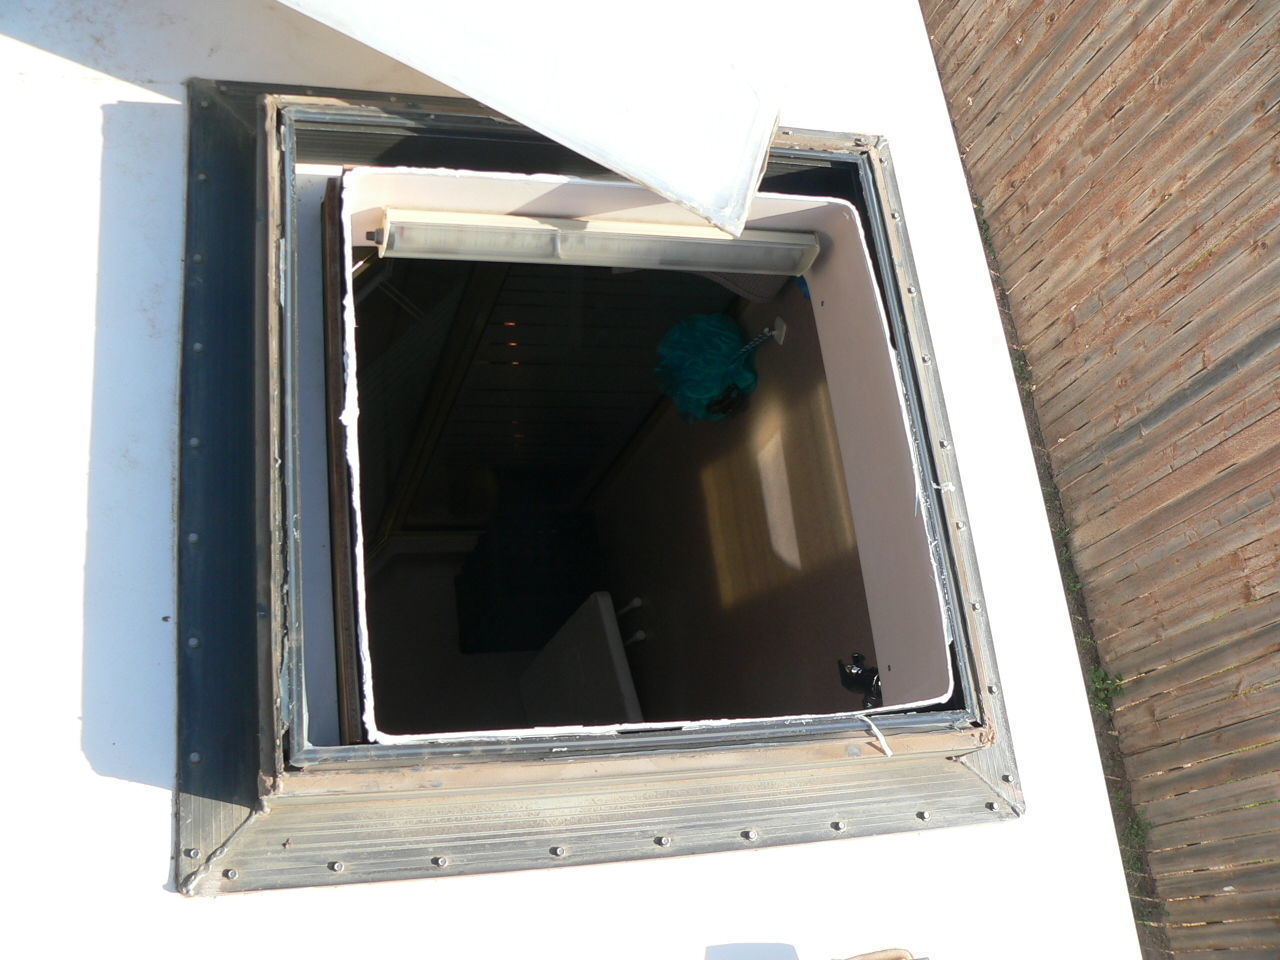
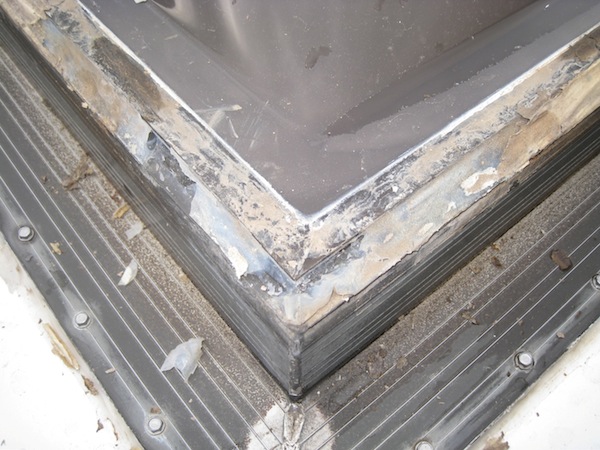
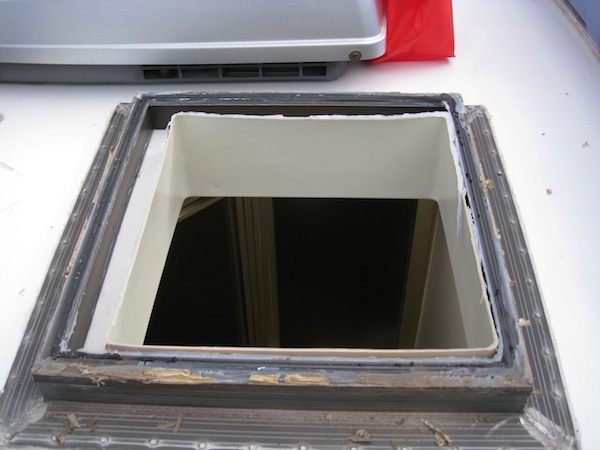
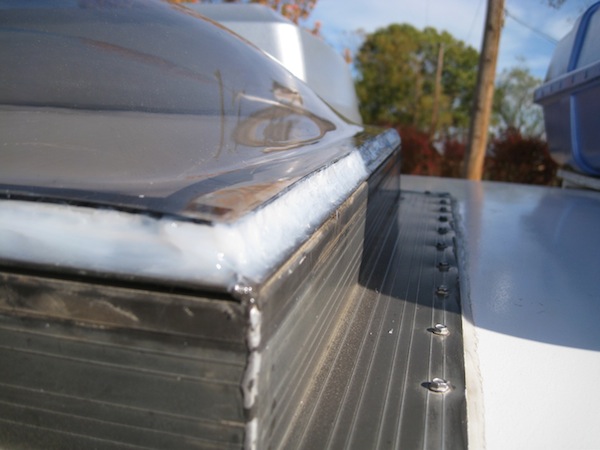
Our original skylight base attached to the roof should not be removed or replaced. It has a perfect bottom flange that seals the base to the roof. The base is over 1-1/4” thick and has a removable top metal cover that protects the edges of the plastic parts. The cover is held in place with multiple short screws that fit into a well-designed weather protected gap all around the top of the base.
Only the top pieces of plastic need to be replaced and most likely, replacement bases will probably not be as well engineered. Keeping the original base in place makes sure the inside trim can be reused as is.
The original flat translucent white plastic panel that we see inside the shower is sealed to the top of the base. And the plastic outside dome is sealed to the top of the white translucent panel with the cover finishing the job.
Our square metal base measures 24-7/8“. Our square plastic white flat and plastic dome measure 23-3/4”.
Replacement Skylight Domes
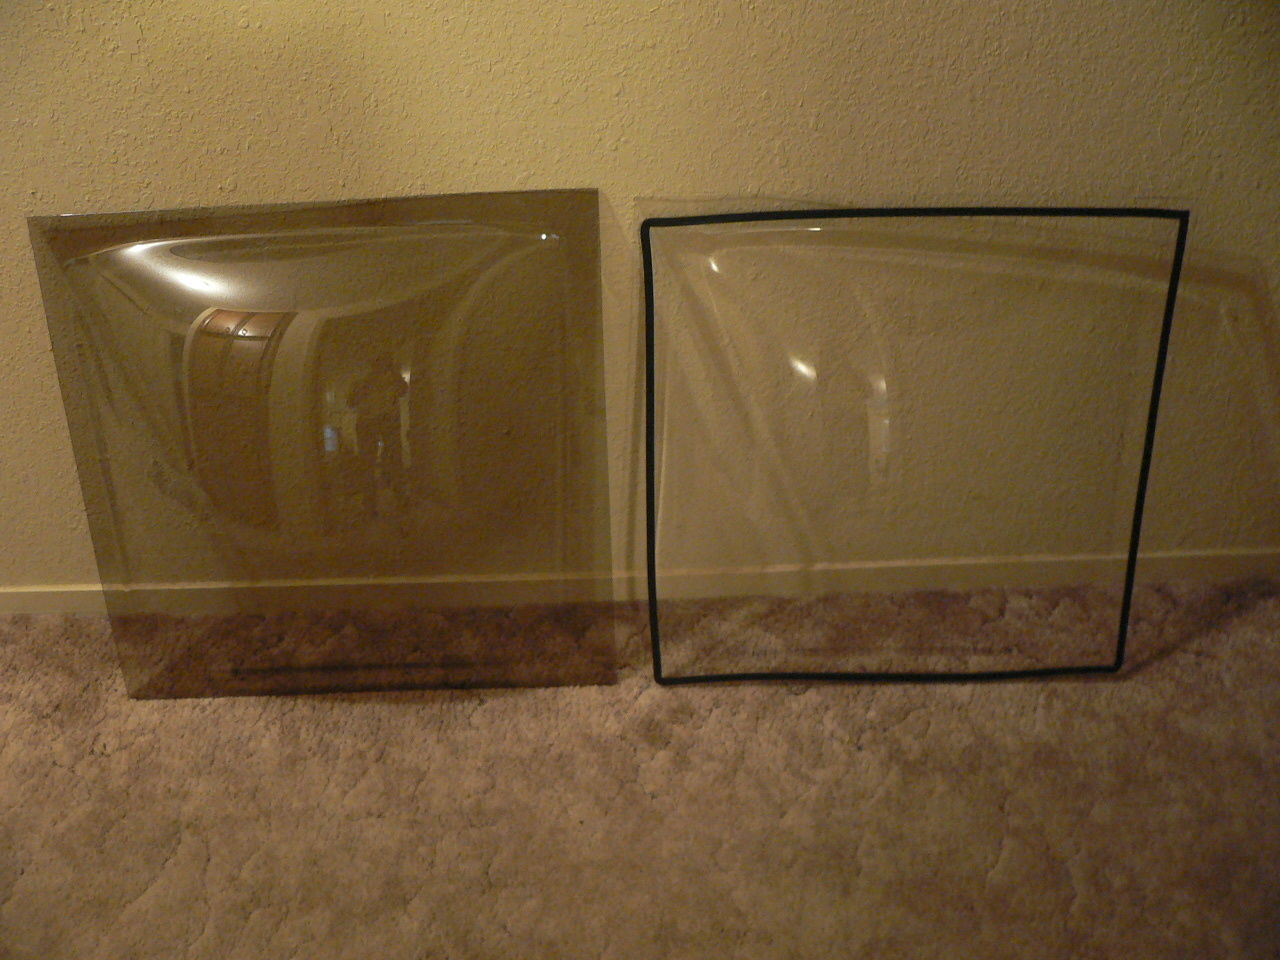
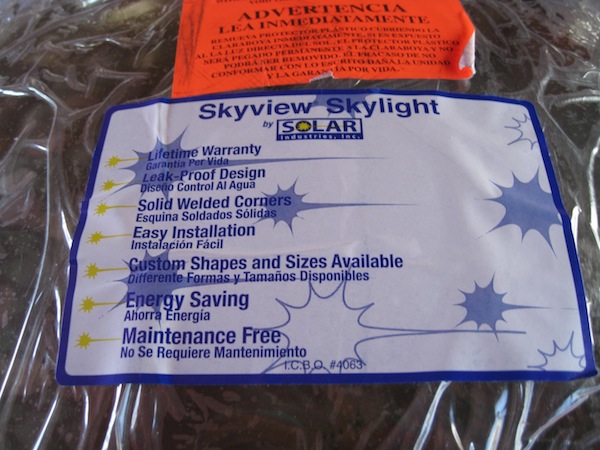
There are many ways to repair skylights and several Forum members offered good ideas. We found that Lowe’s has a skylight with a removable smoked plastic dual-dome that fits our base. Lowe’s part number is 227698. We only used the plastic dome parts and scrapped the two base parts. Lowe’s skylight does not come with a flat inside plastic.
This Lowe’s skylight does not have the best made aluminum base and the domes are not attached with a weather tight seal, but the dual plastic domes, by themselves, are just what we need to replace our broken plastic parts.
The key to using the existing base is to find a replacement dome that measures 24“ x 24” at the outside edge. Anything smaller will not work, one that is slightly larger might work with some trimming of the outer edges.
Replacement Flat Inside Plexiglass
Because the skylight frame is not spaced evenly around the opening in the roof, the amber tinted bubble cannot seal properly against the trim on the inside of the shower. It touches the trim on two sides, but there is a big gap on the other two sides. To bridge this gap, Foretravel installed the flat translucent inside panel. If they had mounted the skylight frame with the roof hole properly centered, the amber bubble would have sealed against the inside trim as it was designed. Of course, then you would get a lot more heat coming in because the dead air space between the flat panel and the bubble would be missing.
Encore RV in Nacogdoches had pre-cut square pieces of 1/8” white translucent Plexiglas that we purchase earlier this year when our shower top piece first cracked. Unfortunately Encore is no longer in business so we need to find an alternative supplier.
I have located a outfit that will sell a single piece of 24“ x 24” solid sheet material for a reasonable price, including shipping. They offer a pretty good selection, in a wide range of thickness and color. If all you want to do is reproduce the OEM factory skylight installation, then they can fix you up. They have a 1/8“ thick white translucent Plexiglas panel that would be a perfect replacement for the original interior shower panel. Pair this with the Lowe's 2-piece skylight kit, and you would be good to go!
1/8" White Plexiglass Acrylic Sheets #2447 - Precut and Cut-to-Size
Sealing Domes and Flat Parts Together
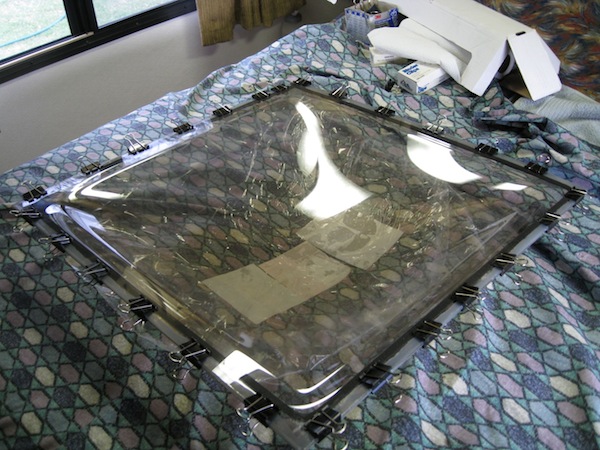
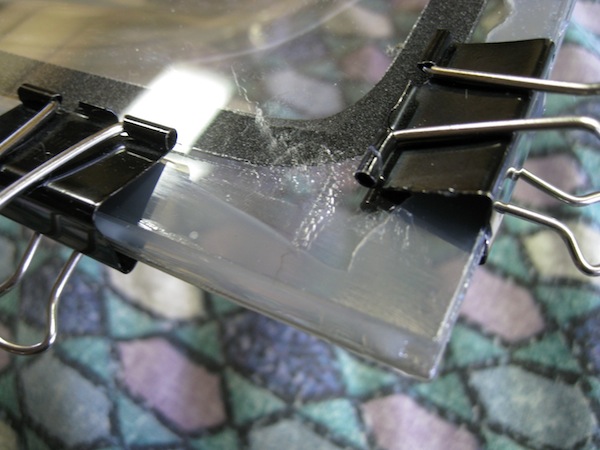
We used denatured alcohol to prepare surfaces and GE Silicone II Supreme Clear to seal all parts together. First the two plastic domes were made air tight with a perimeter of silicone between the parts. After the silicone cured, we sealed the flat translucent Plexiglas to the bottom of the domes. Medium binder clips held parts together while curing.
It's been reported that some sealants may not hold up to the heat, for example GE 100% Silicone 2+ Clear.
It is supposed to have a service temp of -60F to 400F. It seemed to set up and cure properly when I stuck the two domes together in the house, but it obviously didn't like the heat on the coach roof. I pulled the domes apart and removed the failed sealant. So it's back to square 1 on putting the skylight assembly together.
An alternative to attach the two domes together is to try is 3M VHB mounting tape, it is black, not clear, but it should not matter because you can't see the tape looking up through the skylight from inside the shower stall. Permanent Double-Sided Extreme Mounting Tape
Sealing Dome to Roof Base
- Remove inside shower trim.
- Remove cover, save 8 screws for re-use.
- Remove original dome and flat Plexiglas from top of frame.
- Remove all old silicone.
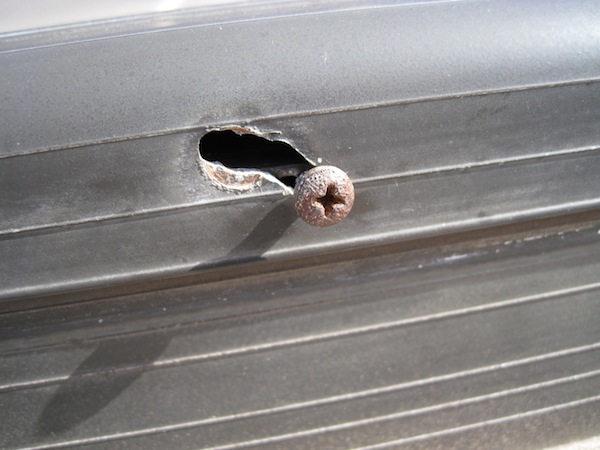
- Temporarily place new dome & cover on base to determine where to extend cover’s slanted screw holes lower to accommodate new thicker dual-dome.
- File holes lower on a slant so screw does not let cover lift up.
- Silicone dome to base and hold down with cover & screws until cured.
- Remove cover and seal the edges of dome to base with silicone.
- To keep cover from being glued on, wait until all is cured before finishing the job by attaching the cover.
Finished
The above information is a compilation of information from the following threads
Continued Reading:
Replacing our shower skylight by Barry & Cindy
Shower Skylight Rebuild by Chuck & Jeannie
Shower Skylight by Jerry Whiteaker