Dash Removal
Steps to remove:
- The vertical panel in front of the passenger is attached with Velcro and you lift and pull to remove it. There are two small slots on the bottom lip to give you a grip. Lots of fuses behind this one. And the calibration reset for the Audit monitor system.
- The right-hand horizontal panel is held on with screws through the grab handle and then Velcro.
- The next vertical panel to the left is attached with screws at the bottom and Velcro at the top–it removes the storage compartment door. Be careful–mine is cracked. Nor sure if I did it or it was like that before I started. I'll probably try to repair with some epoxy before I reassemble.
- The back and bottom of the storage compartment can be taken apart with screws in the two panels.
- The center horizontal part of the dash is attached with Velcro.
- The back of the instrument cluster is just a press fit and can be removed (with care) by prying and twisting the plastic cover.
- I have not removed the left-hand horizontal cover behind the instrument cover but it appears to be just Velcro.
- The front driver kick panels are held in place with screws and Velcro. The only panel I have not been able to remove fairly easily is the one just to the right of the accelerator pedal. It appears to need some screws removed in the instrument cover to the right of the Audit monitor and I haven't been able to figure out how to get to them.
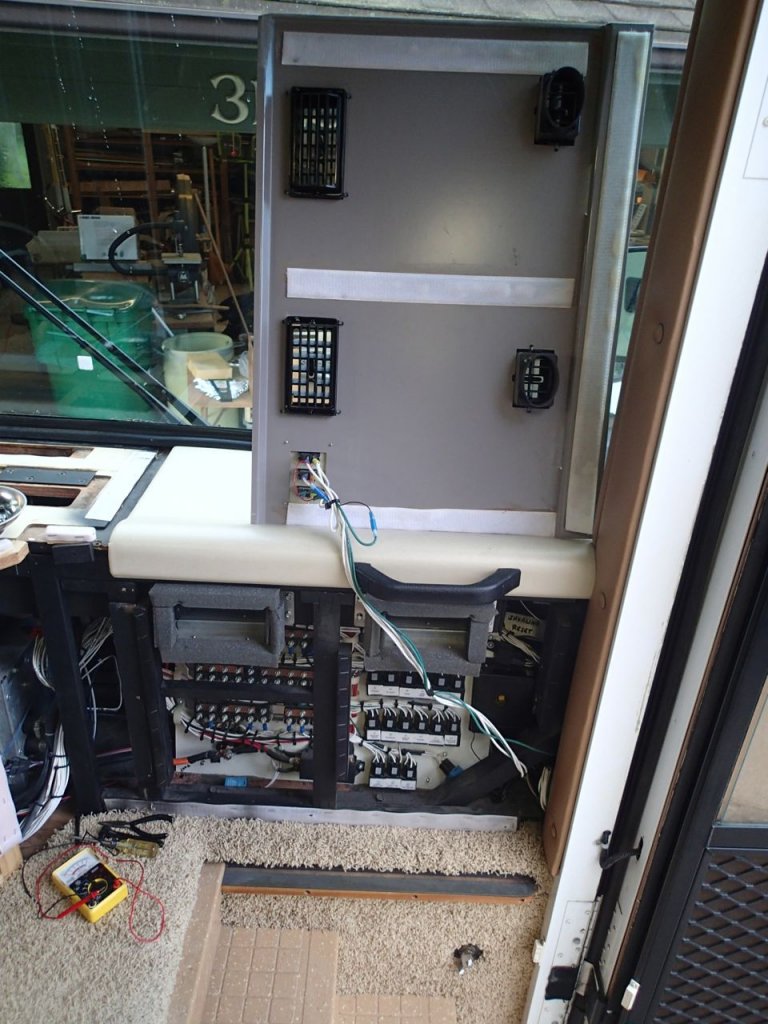
The right side of the dash in front of the passenger. The heat ducts come off easily so you can move the cover up onto the top of the dash. To take the top (horizontal portion off, I think you must remove the grab handle and then it is Velcro. I have not done this.
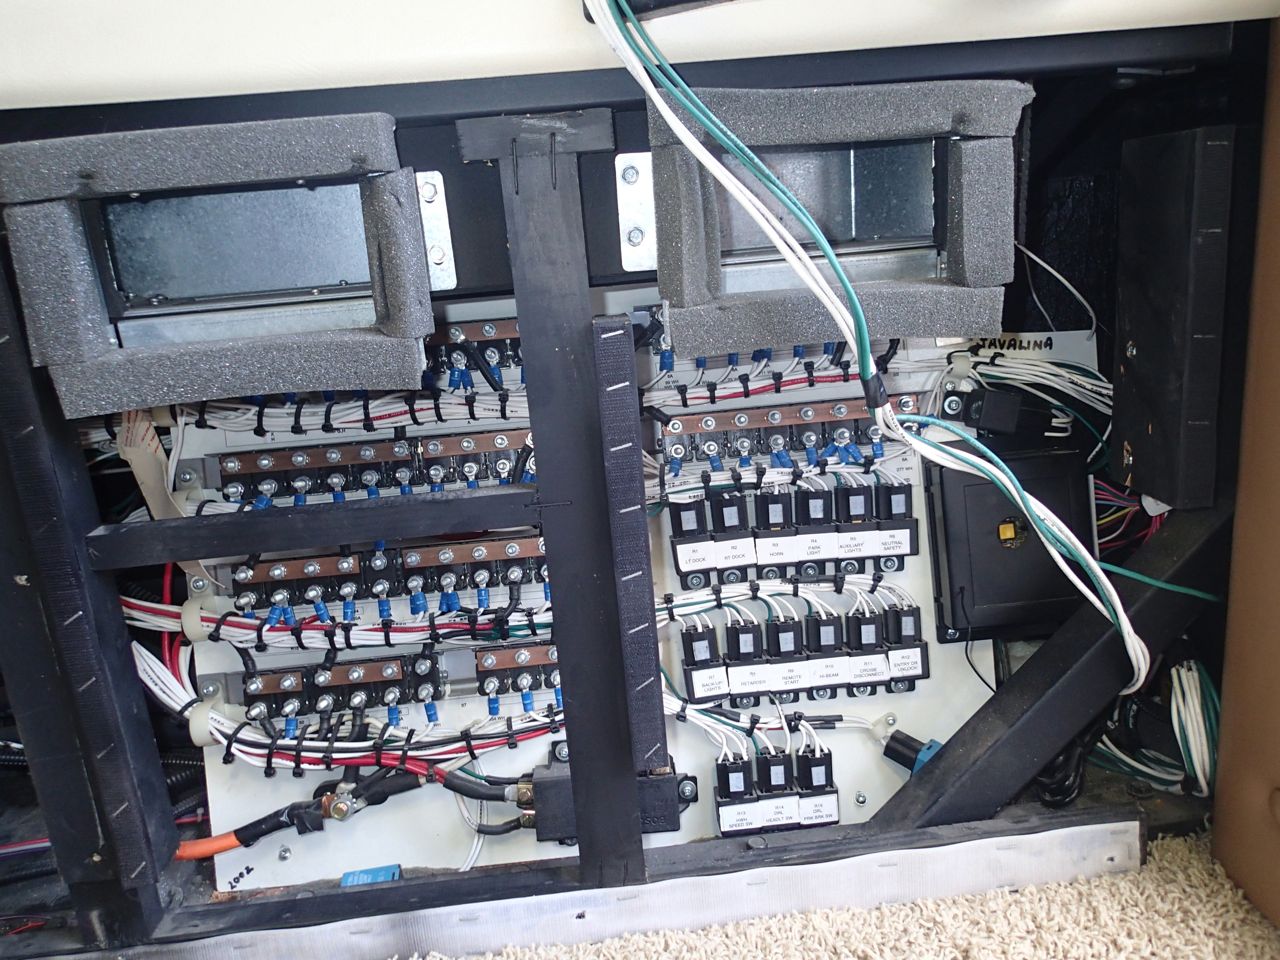
A picture of all the re-settable fuses behind this panel.

A picture of the reset switch I installed for the Javalina tank calibration. A big thanks to Mike O'Leary (previous owner who told me where to find the ground wire and to Barry Beam for pointing out that he has a push button switch on his system. The switch is in the upper right corner of the previous described panel.
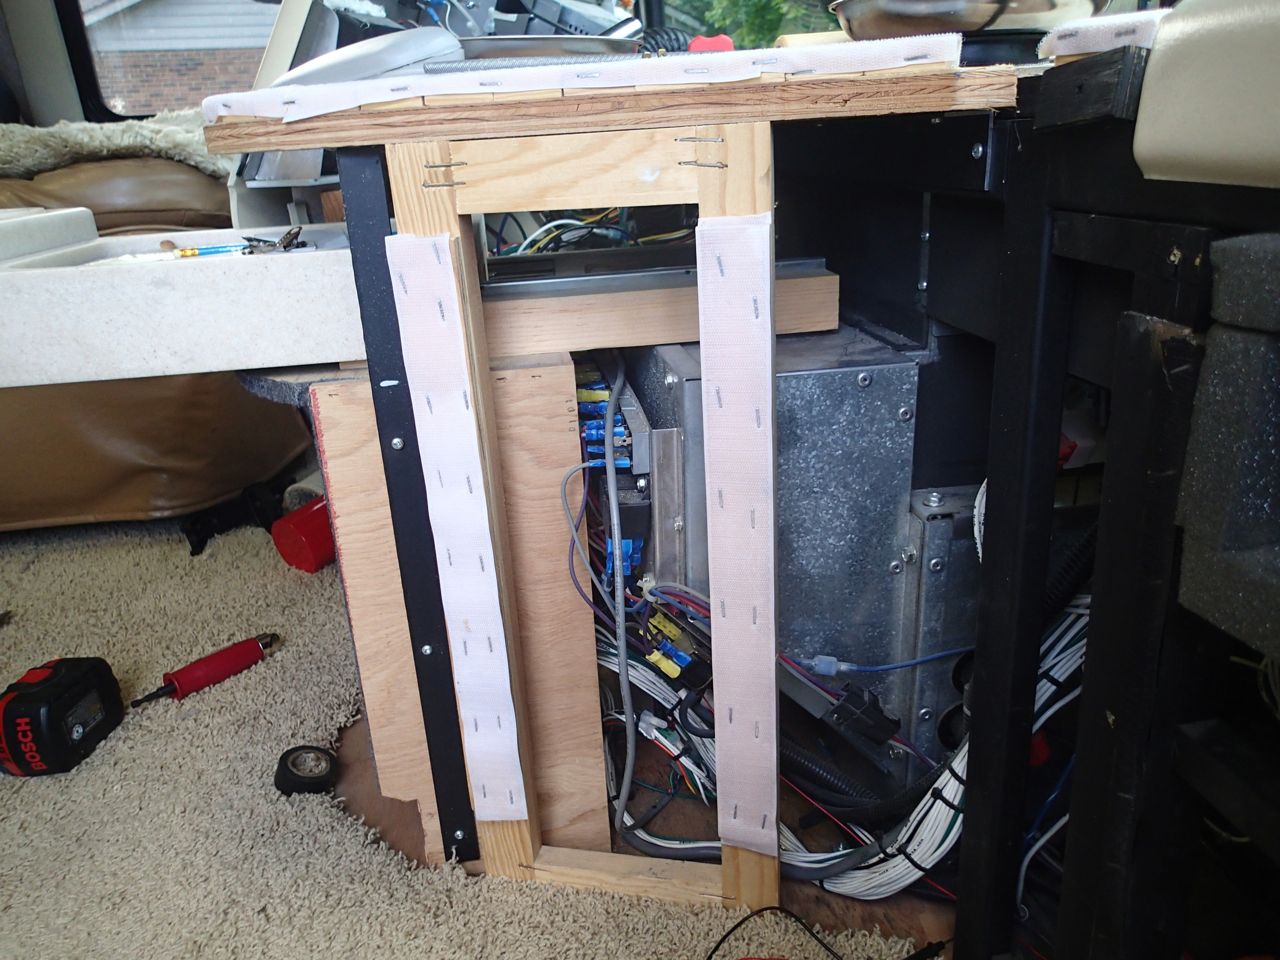
The right side of the center part of the console. It has screws on the bottom and Velcro on the top.
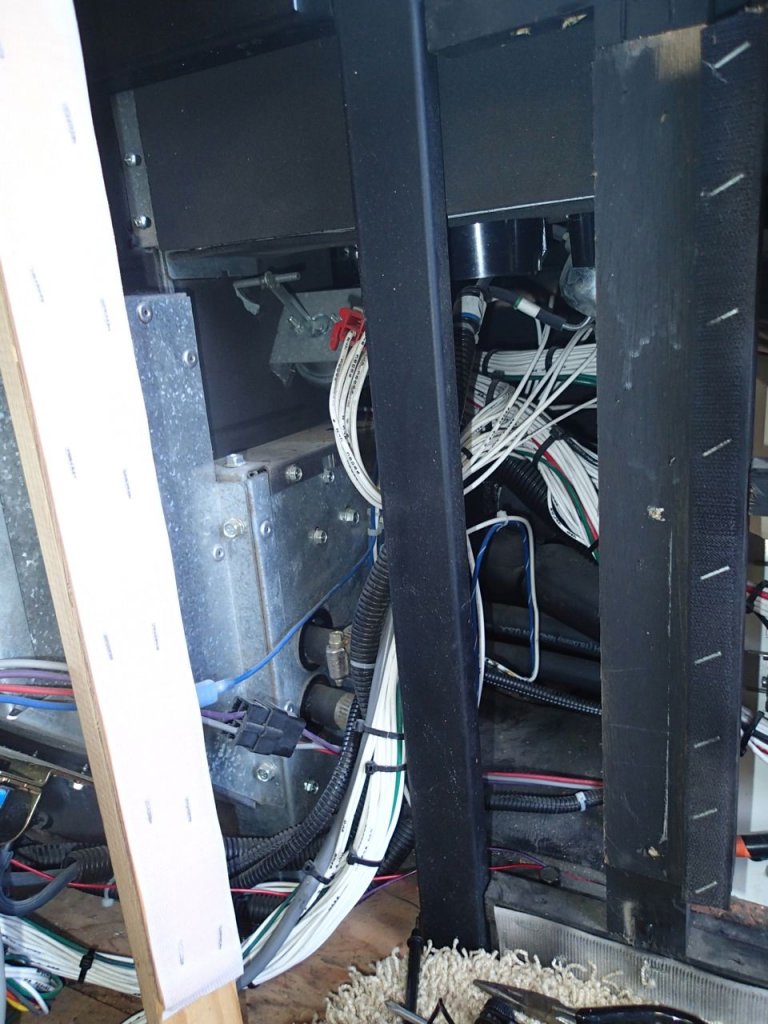
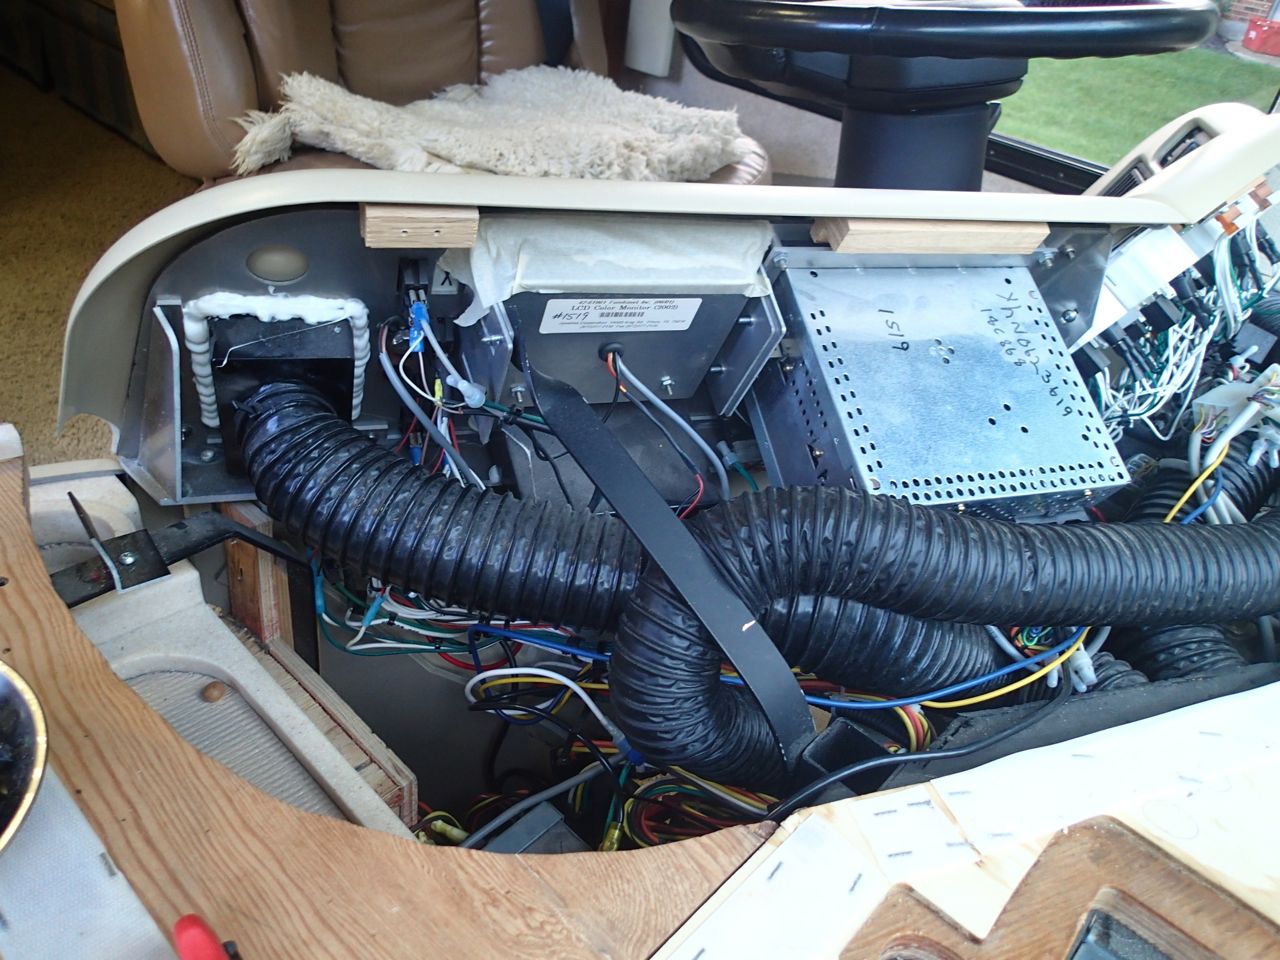
The corner between the right panel and the right side of the center console. The sheet metal box holds the blower fan and cool/heat cores.

Looking into the center storage compartment. The back and bottom panels are held in with small screws. This is the top of the back of the compartment showing dash HVAC relays and vacuum control solenoids for the duct flaps.
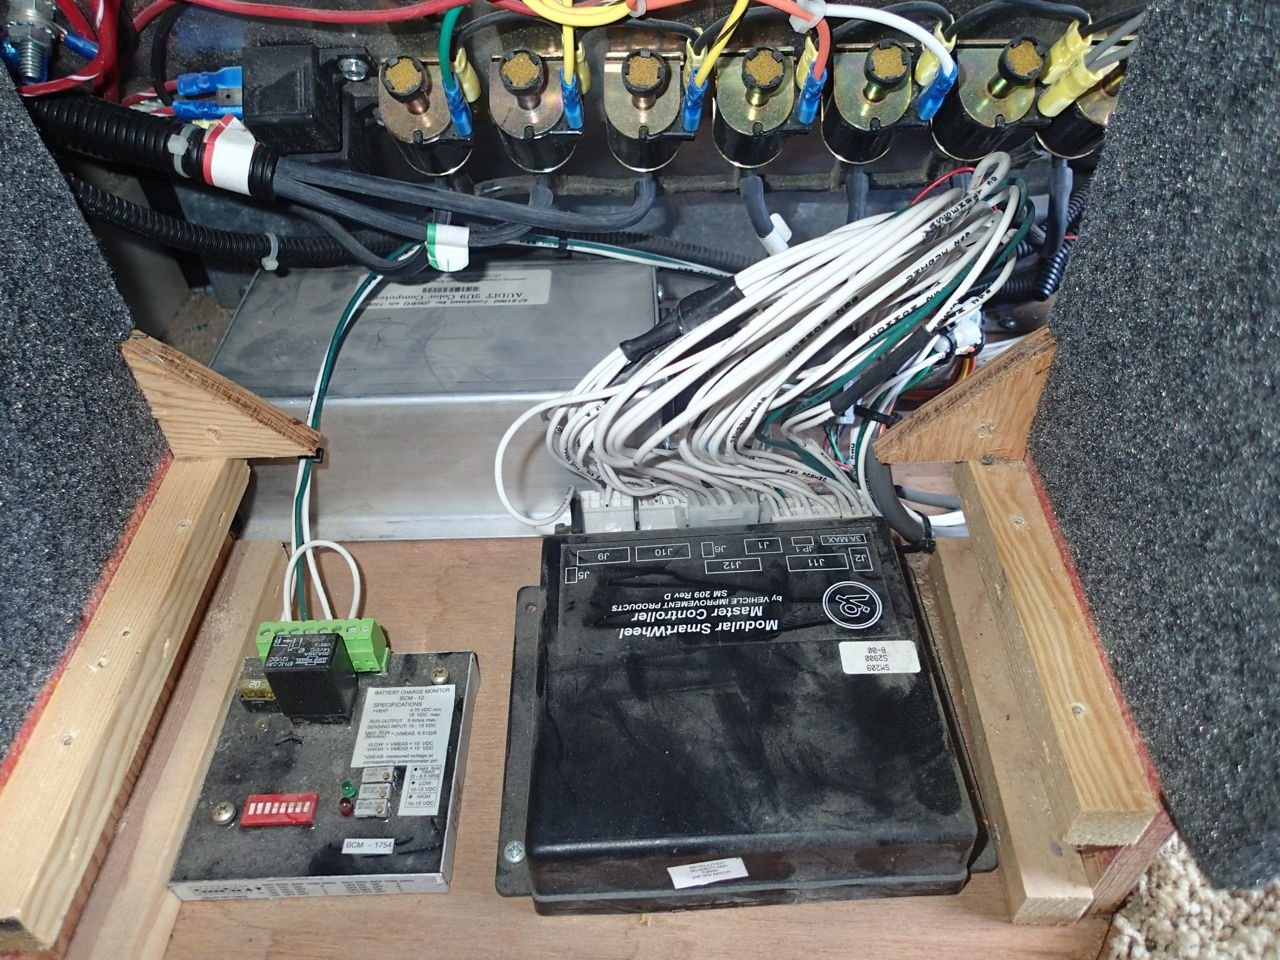
Looking down at the floor of the center compartment. In the back is the Javalina box, on the left is the controller for the Generator autostart and on the right is the Smart Wheel box.

The top of the dash. The two top pieces are held on with Velcro. The cover on the back of the instrument cluster is just a push fit around the edges –no Velcro or screws.
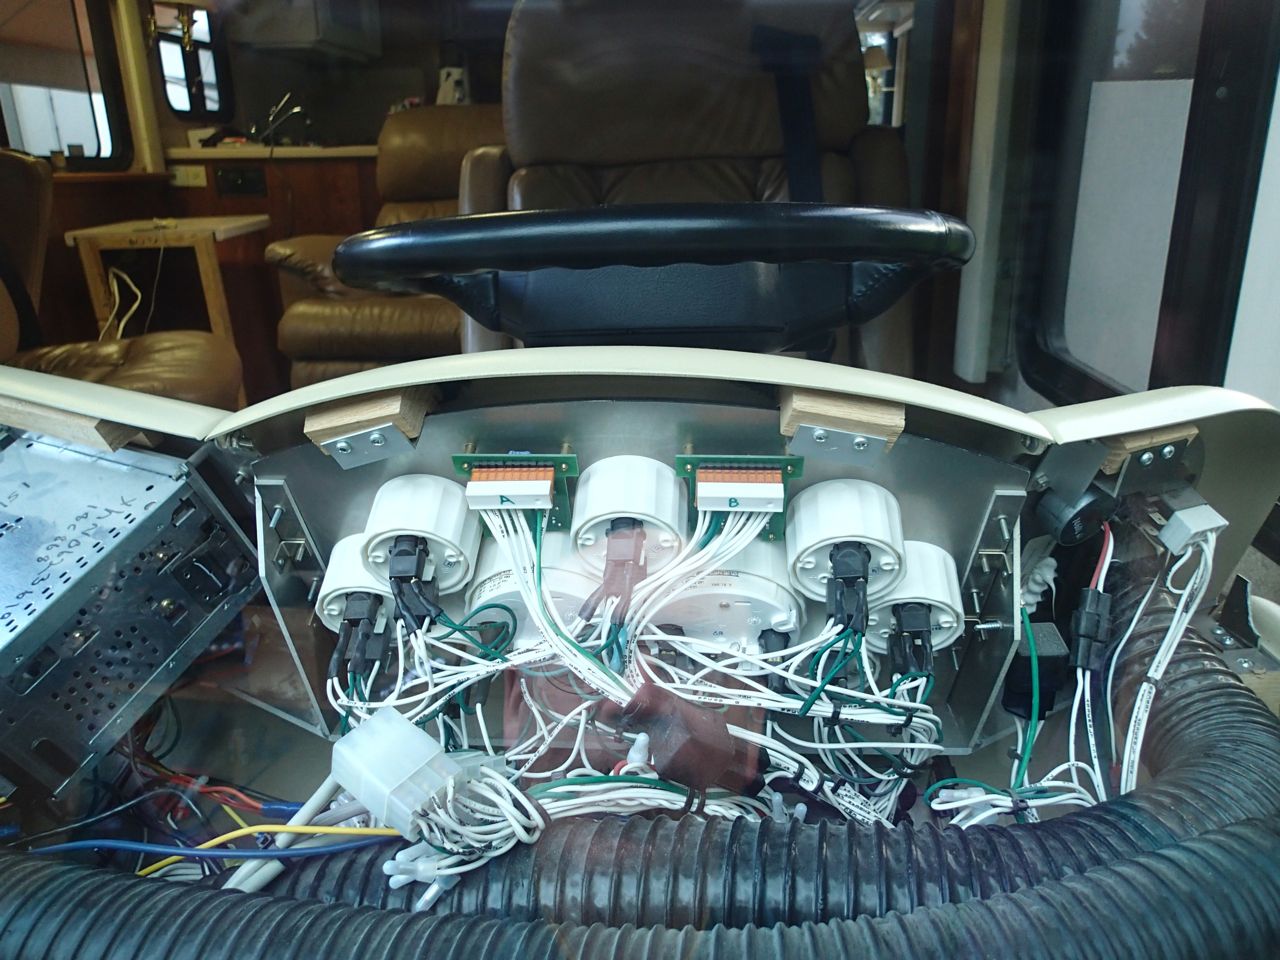

Last few pictures –the back of the instrument cluster, The drivers left side of the instrument cluster.
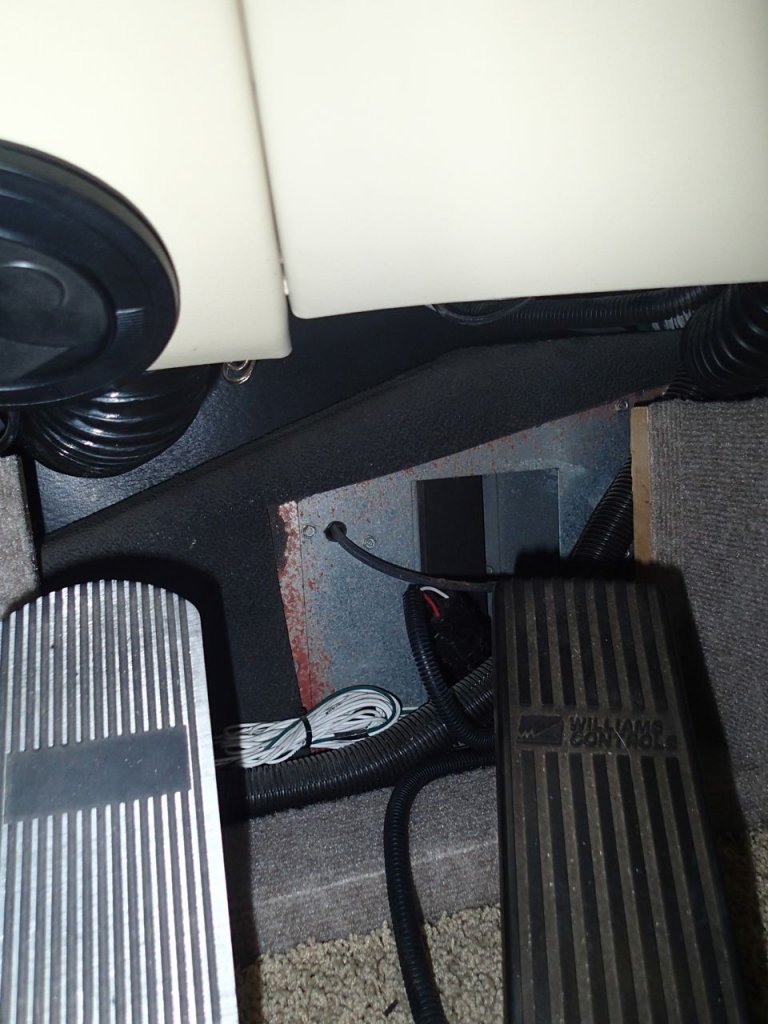
The area behind the pedals.

The area where your left foot is