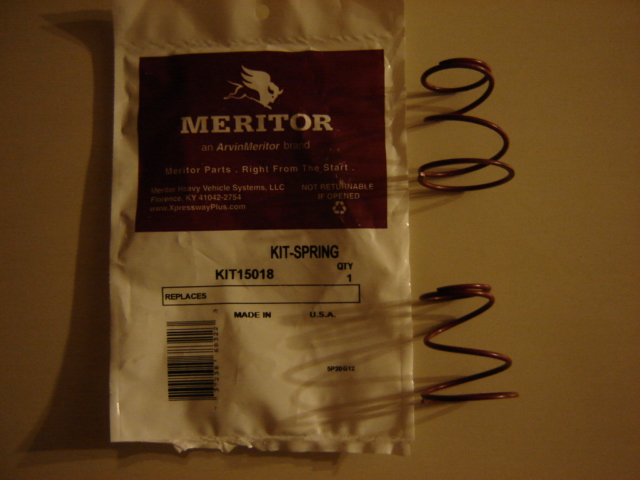
Meritor helper springs
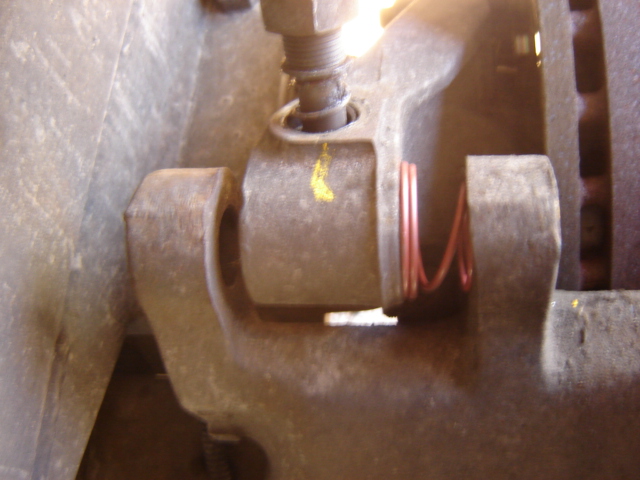
There is a “soft recall” for our brakes and Meritor recommends adding the helper springs as it prevents the brake from dragging. Here are some pictures of the Meritor disc brake helper springs and some installation and greasing tips.
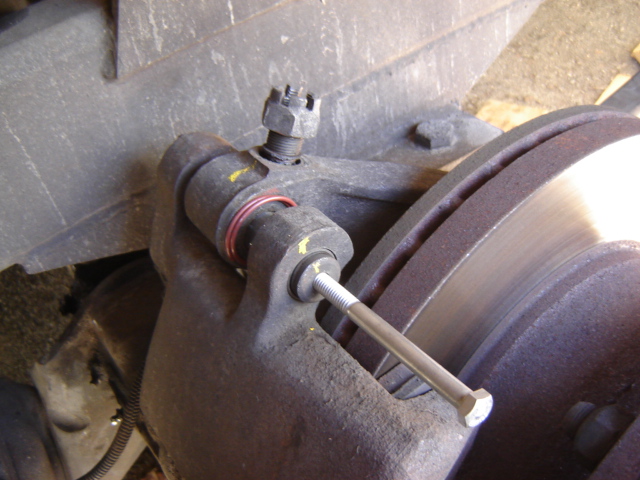
If you have the brakes inspected and the slide pins cleaned you should have the helper springs installed. I cannot imagine much increased cost beyond the cost of the spring kit (about $18.00) at the time of pin cleaning because the pins have to come out to be cleaned and the springs just slide in. The spring kit (Meritor P/N KIT15018) contains the two springs required, one for the upper pin and one for the lower pin. The thread in the end of the slide pin is a 3/8 -16 and using a 3/8 bolt makes it easy to pull pin and hold it while cleaning it. The maintenance manual allows light lubrication of the slide pins after inspection and cleaning;
Page 40 Meritor Maintenance Manual 4M (Revised 04-05)
8. Clean, inspect and measure the slide pins and bushings. Refer to Section 12 for information about cleaning the brake components.
A. Clean the slide pin. Remove any paint or other material from the pin. Replace the pin when you find burrs, nicks, corrosion, or other damage. Lubricate the slide pins lightly with WD-40, Spray CRC or a similar product.
B. Measure the diameter of the pin with a micrometer. Replace the pin if the diameter is less than 0.987-inch (25.07 mm).
C. Clean, inspect and measure the bushings in the caliper. Refer to Section 4
D. Repeat these procedures for the lower slide pin and bushings after you install the new linings and install the caliper
I used a silicone spray that leaves a dry film.
There has been a lot of talk about not greasing the calipers too much. I would say the real issue is improper greasing. You could grease the calipers once a month if you wanted to. You just have to do it correctly. Just follow the instructions in the maintenance manual. Of course it is not necessary to grease that often and it has been 4 years (about 15K miles) since my brakes were inspected and greased. Upon re-greasing the old grease looked OK but the pins had some residue on them. At one point I had some brake squeaking and I sprayed some of the aforementioned silicone spray on the pins and that seemed to take care of the squeak.
The residue on the pins looked like it had been on there for a while and not accumulated as a result of the silicone spray. I took the pins out, cleaned and inspected them and reinstalled with the helper springs and greased the calipers. I now have a baseline for the condition of all four of my brakes and have formulated a maintenance schedule for them based on their current condition and depending on what mileage I put on.
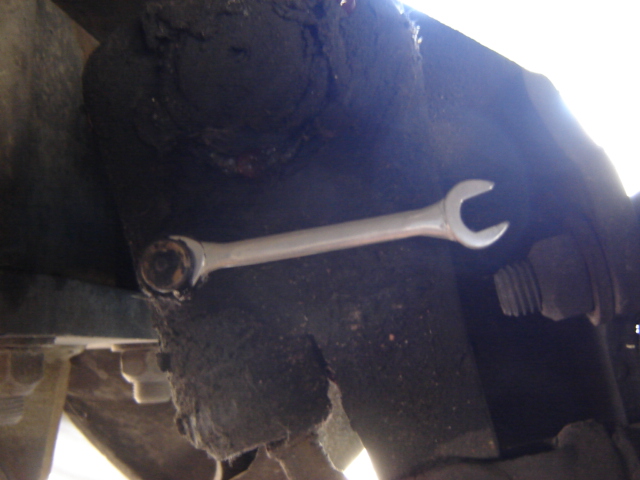
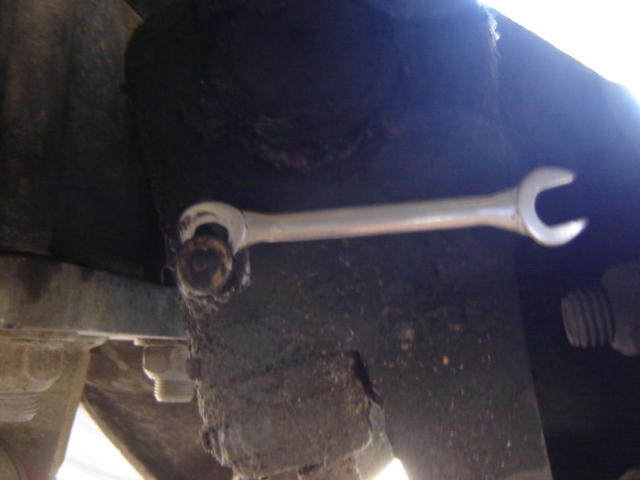
GREASING TIP Slack adjustment pawl may be locked open with a small ignition wrench, the one seen in the pic is an 11/32 about .090 thick.
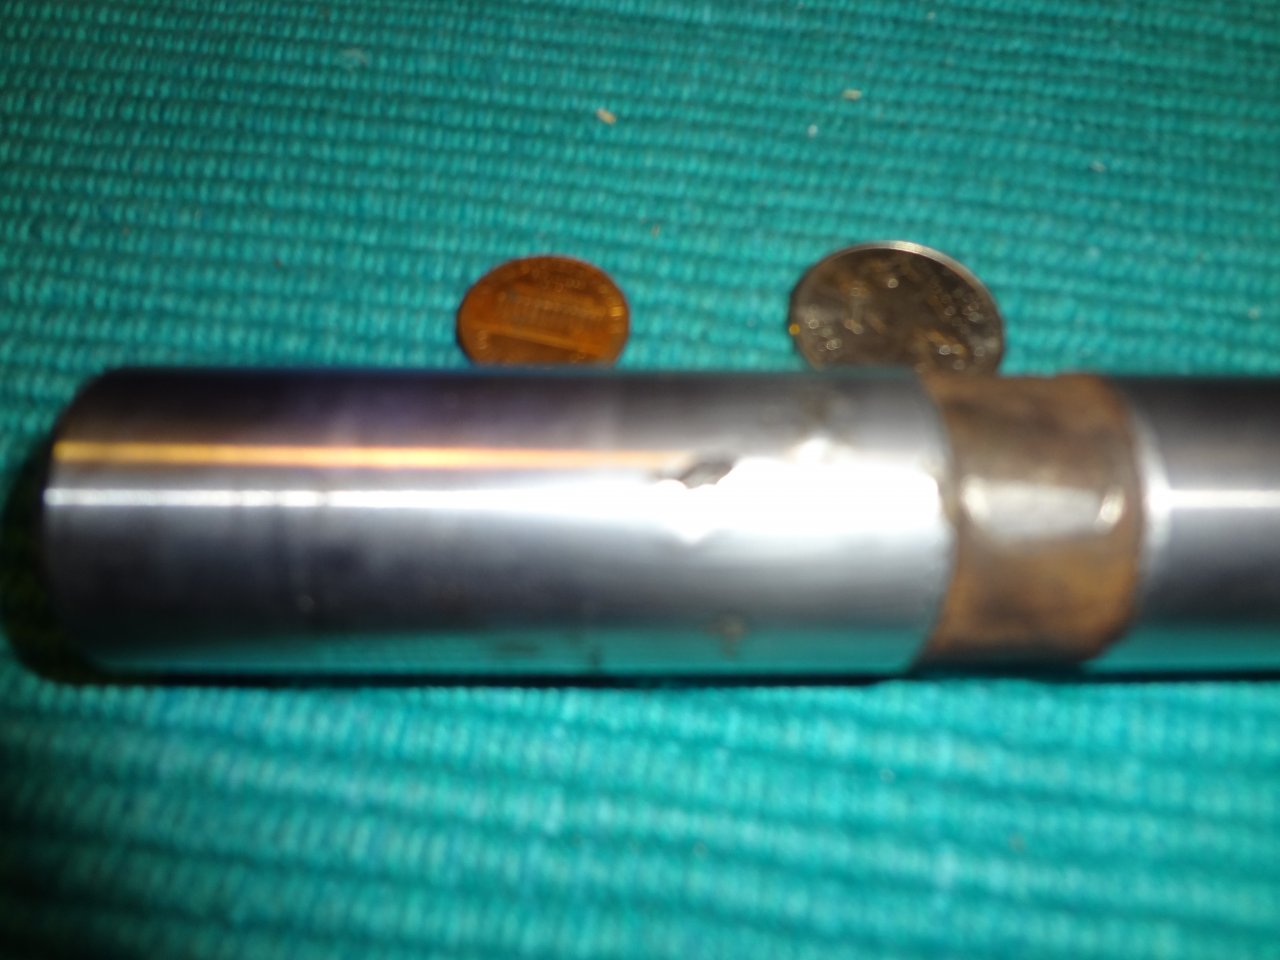
This shows the corrosion and if you run you hand along it you feel ridges where the destruction is easily felt as well as seen.
Procedure for installing the Slide Pins in Duramaster Air Disc Brakes
Referring to the Bendix® service manual section 3, page 17 for relining brakes it states:
make sure the slide pin is clean and that there is no paint or other material on the pin.
Also as a footnote the manual states
apply anti-seize compound to the slide pin retainer, but do not apply anti-seize compound to the threads of the retainer or to the slide pin.
Using any type of lubricant on the slide pins during installation can cause dirt and/or road debris to build upon the pins and bushings, causing them to stick and not release. Premature brake wear and possible failure could occur.
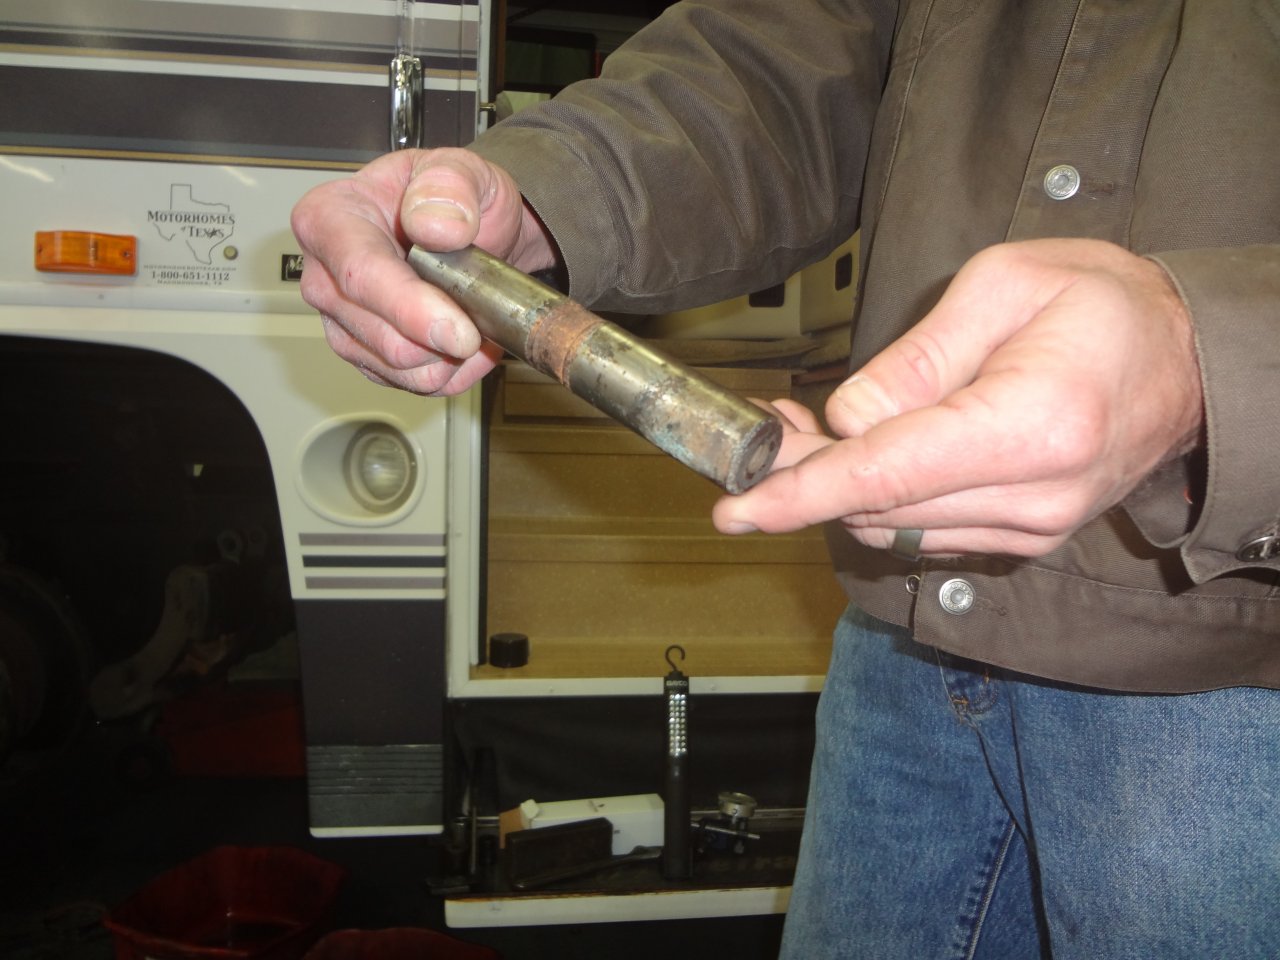
I just had all of our brake slide pins pulled and inspected, I have posted some photos below.
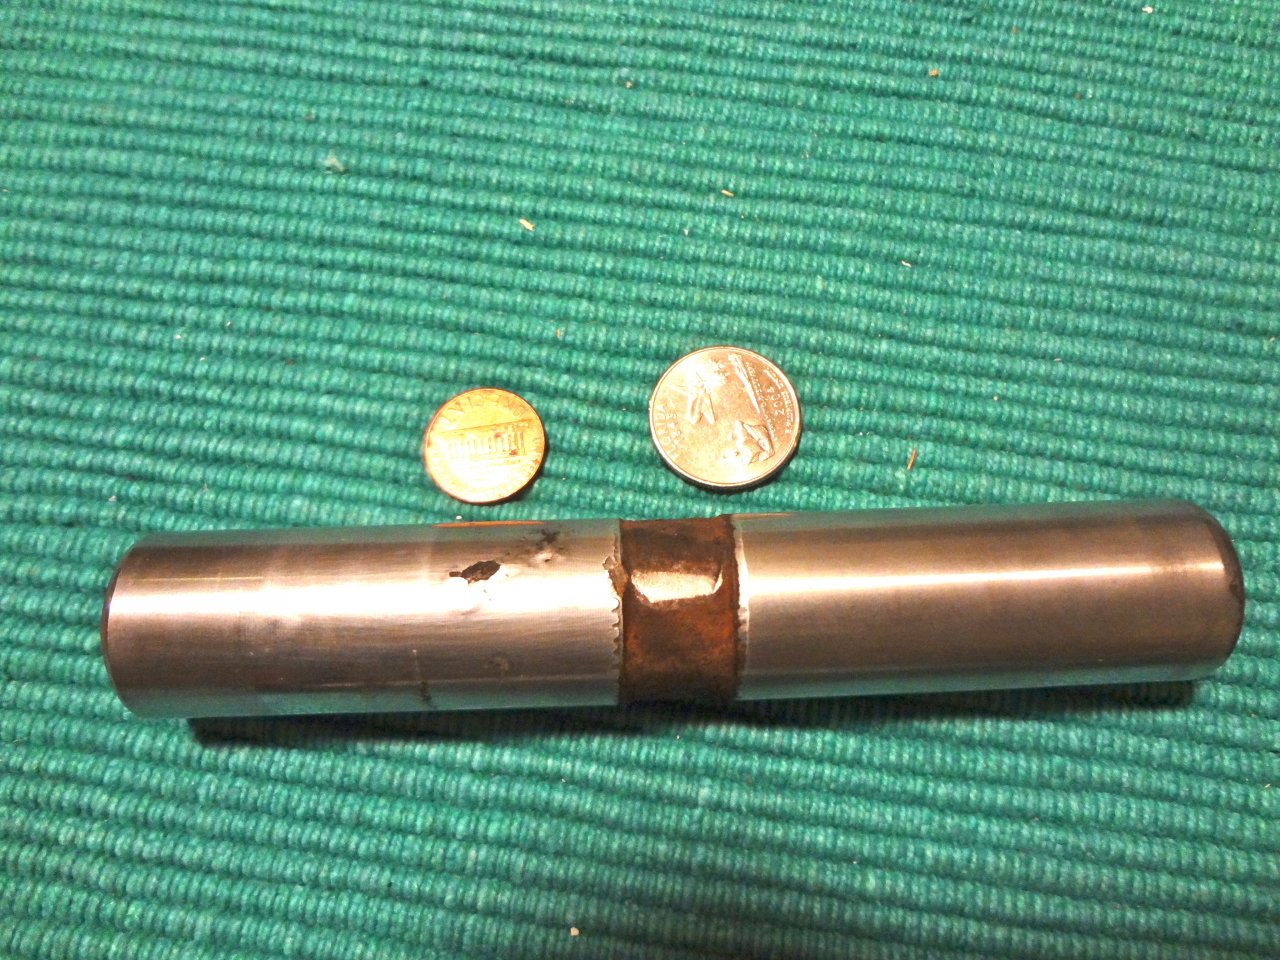
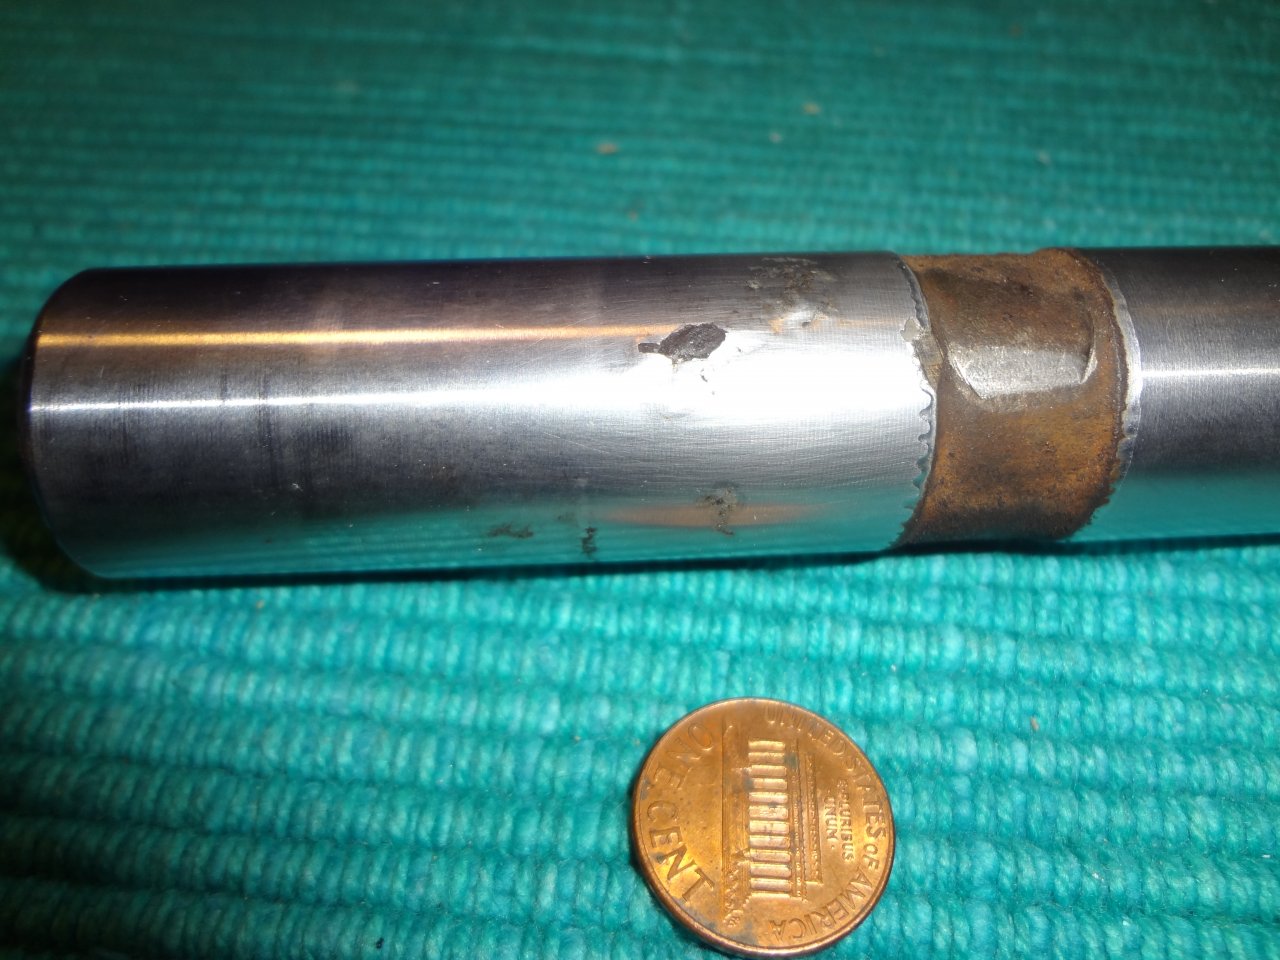
The one I am showing has a fairly good sized, deep, hole in it, with rough edge, that I am told is serious, could before long have caused brake problem. It is speculated that the coach may have sat for a time, caused some rust to begin, it got worse over time, then turned into the hole. Understand that this pin has been cleaned to show me (you) the problem area, it is not this nice and shiny all over. A new paper weight.
The lesson…..if this is new to you, consider a periodic inspection or cleaning of these pins and probably factor in how often you use the coach, what conditions (salt on roads in winter?). Pumping the brakes six times before driving can keep the brakes sliding well on the pins.
The coins are just to show you scale for those new to this topic. The coins value is not representative of the cost to inspect and, or replace the pins and especially a repair if the brakes seize or fail because of corrosion.

Further Discussion:
Helper springs on Meritor disc brakes
Brake Slide Pin report, reminder